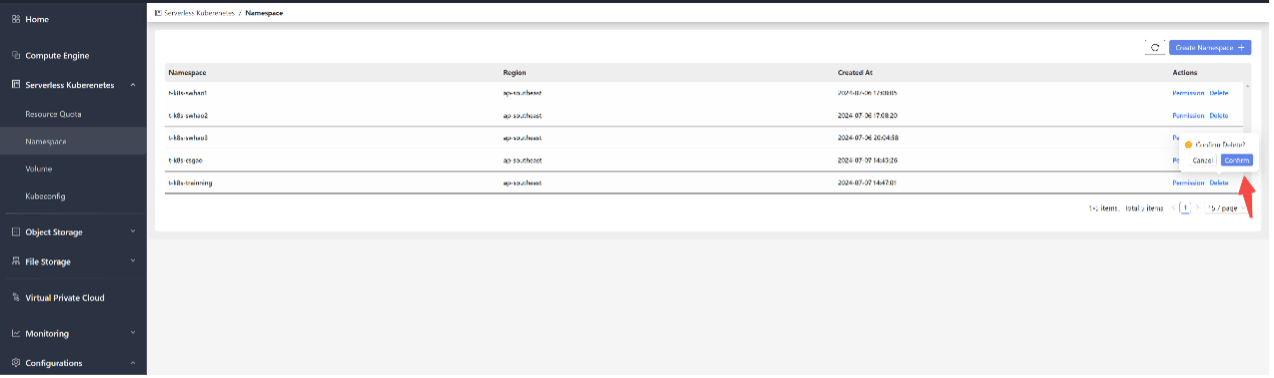
Create a Namespace
- Go to the Serverless Kubernetes -> Namespace management page.
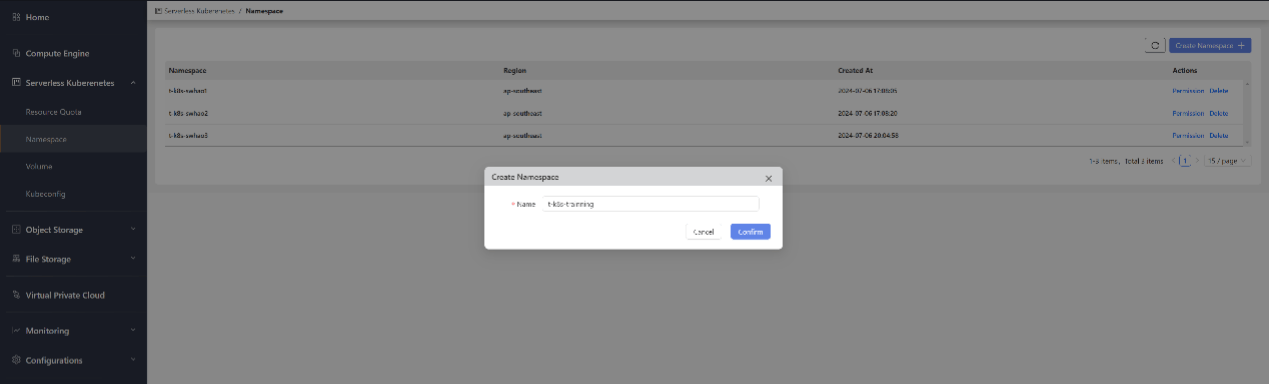
- Click the Create Namespace button.
- Select the payment type, region, instance specifications, and image configurations as needed.
- Enter the namespace name and click Confirm to complete the creation. The namespace name must follow the format
t-<your tenant name>-<your namespace name>.
View Namespaces
- Go to the Serverless Kubernetes -> Namespace management page.
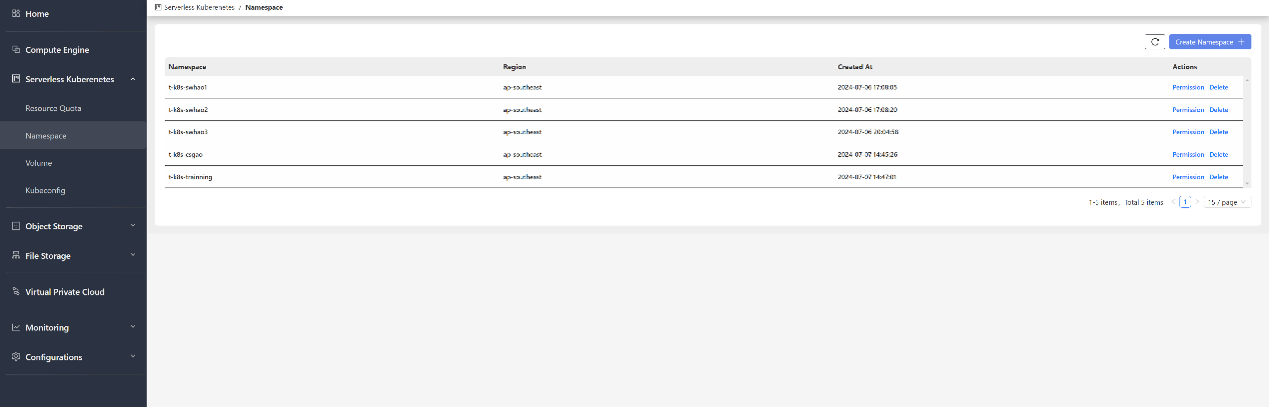
- On the page, you can view the following details of all namespaces.
Authorize Namespace Users
- Go to the Serverless Kubernetes -> Namespace management page.
- On the right side of the namespace you need to authorize, click the Permission button.
- In the pop-up window, select Users and choose grant to authorize users or revoke to deauthorize users.
Delete a Namespace
- Go to the Serverless Kubernetes -> Namespace management page.
- On the right side of the namespace you need to delete, click the Delete button and confirm to complete the release of the namespace.